

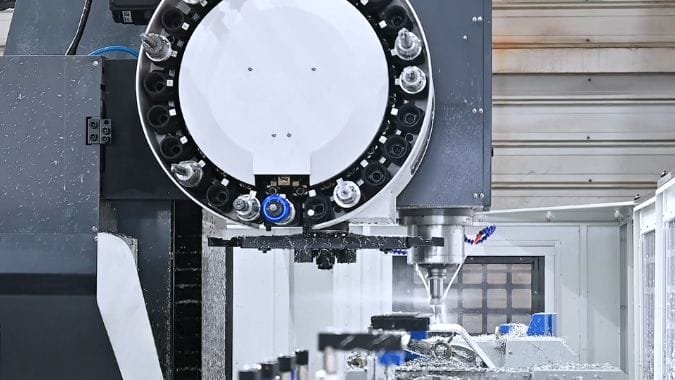
How to Do Daily Maintenance for a Profile Machining Center?
Your brand new profile machining center just stopped, throwing a mysterious error. Now you face expensive downtime and repair bills, all because of a problem that was completely preventable. A simple daily maintenance routine is the key to avoiding this disaster.
Daily maintenance for a profile machining center involves a simple routine of checking fluid levels, thorough cleaning, proper lubrication, a quick electrical inspection, and smart tool management. Following this checklist consistently is the single best way to prevent common failures, ensure accuracy, and extend your machine’s productive life.
The biggest difference between a shop that runs smoothly and one that’s always fighting fires is maintenance. It’s not about spending hours every day on complex repairs. It’s about the simple, 15-minute checks that an operator does at the end of every shift. There was a client whose machine was constantly breaking down. The cause wasn’t a major defect; it was years of built-up aluminum chips and grime clogging the systems and starving components of oil. A little daily care could have saved them thousands. Let’s break down what that daily care looks like.
How to Clean a Profile Machining Center for Long-Term Reliability?
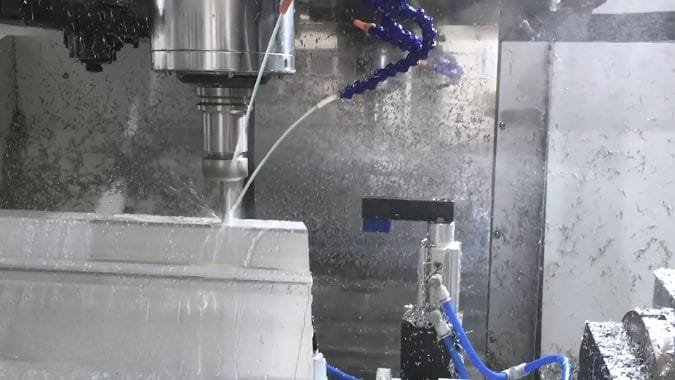
Chips, dust, and old coolant build up on your machine every day. This creates a mess that doesn’t just look bad; it clogs vital systems, causes overheating, and leads to premature wear and expensive breakdowns. A consistent cleaning routine is the easiest fix.
To properly clean your profile machining center, wipe down all external surfaces, clear chips from the work area, guide rails, and chip hopper, and inspect the cutting fluid system. This simple process prevents built-up grime from causing mechanical wear, overheating, and electronic failures.
It sounds almost too simple, but a clean machine1 is a reliable machine. Statistics show that nearly half of all equipment failures2 are caused by dirt and dust. It’s the number one enemy of any precision machine tool. When you make cleaning a non-negotiable part of your daily shutdown procedure, you are actively preventing future problems. It’s not just about aesthetics. You are protecting your investment by ensuring every component can move freely, cool effectively, and operate exactly as it was designed to. A few minutes of cleaning with a brush, a rag, and an air gun is the cheapest insurance policy you can have against unplanned downtime.
Your Daily Cleaning Checklist
| Cleaning Area | What to Do | Why It’s Critical |
|---|---|---|
| Machine Surfaces & Enclosure | Wipe down all painted surfaces, windows, and the control panel with a clean rag. | A layer of oily grime traps heat, which can cause electronics to overheat and fail prematurely. |
| Work Area & Drive System | Use compressed air and a brush to remove all chips from the table, fixtures, and especially the guideway covers and rails. Empty the chip hopper. | Chips left on guide rails can get crushed into the wipers, scoring the precision surfaces and destroying the machine’s accuracy over time. |
| Coolant System | Skim any tramp oil from the coolant tank and remove any large piles of chips from the chip conveyor or tank. Check filters for clogs. | Dirty or clogged coolant performs poorly, leads to bad surface finishes, reduces tool life, and can cause a mess on the shop floor. |
How to Lubricate a Profile Machining Center to Extend Service Life?
You hear a new grinding noise, or notice the machine’s movements aren’t as smooth as they used to be. These are signs of metal-on-metal components wearing out fast, leading to lost accuracy and, eventually, a seized machine that costs a fortune to repair.
To properly lubricate your machine, perform a daily check of all fluid levels—lubricant, hydraulic, and coolant—and top them off. Crucially, you must also verify that the central lubrication system is working and that oil is reaching every lubrication point as intended.
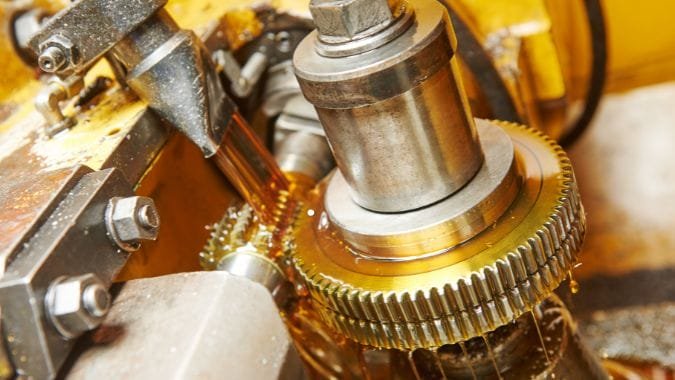
Think of lubrication as the lifeblood of your machine. Without it, every moving part is slowly destroying itself. The biggest mistake I see is operators just filling the central lubrication tank3 and assuming the job is done. You have to verify that the oil is actually reaching its destination. A single pinched or clogged lubrication line can starve a critical ball screw or linear guide, leading to a multi-thousand-dollar repair, all while the main tank was full. Making a quick visual check of the lubrication points4 part of your daily routine is essential. It’s the difference between a machine that lasts for 20 years and one that’s worn out in five.
Key Lubrication Tasks
- Daily Fluid Level Checks: Before starting the first shift, make it a habit to check the levels in the central lubrication reservoir, the hydraulic tank, and the coolant tank. Top off any fluids that are low, using only the manufacturer-recommended type.
- Follow the Manual: Your machine’s manual is the ultimate guide. It specifies the exact type of oil and grease to use. Using the wrong lubricant can be just as damaging as using no lubricant at all.
- Trace the Lines: Don’t just fill the tank. Take a moment to visually inspect the small copper or plastic lines that run from the central unit. Look for any kinks, leaks, or signs of damage that might stop the flow of oil.
- Confirm Delivery: When the lubrication pump cycles, you should see a small amount of fresh oil at the lubrication points on the linear guide blocks and ball screw nuts. If a spot looks dry, that line is likely blocked and needs immediate attention.
How to Inspect the Electrical System of a Profile Machining Center?
Your machine is throwing random alarms that stop production. These mysterious electrical faults can be a nightmare to trace, leading to days of downtime while you wait for a technician. A quick daily visual inspection can catch many of these problems early.
To inspect the electrical system, perform a daily visual check of all external cables and plugs for damage. Also, check that all cooling fans on the control cabinet are running and listen for any abnormal sounds from the motors.
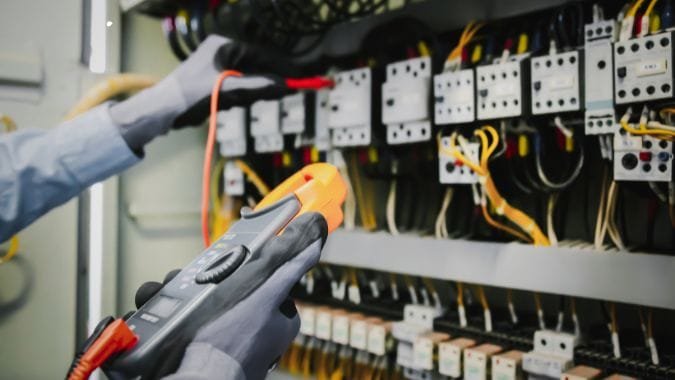
Most electrical problems don’t start with a complex component failure inside a sealed cabinet. They start with simple, physical issues on the outside. A cable gets frayed, a plug works loose from vibration, or a cooling fan gets clogged with oily dust and stops working. There was a client whose machine would randomly shut down in the afternoon. The cause? The fan on his main electrical cabinet was clogged and the system was overheating. Five minutes of cleaning and a quick visual check would have saved him two days of lost production and a hefty service bill.
Daily Electrical System Checklist
| Component | What to Look For | Why It Matters |
|---|---|---|
| Cables and Plugs5 | Look for any cuts, abrasion, or wear on all external cables. Gently check that all plugs are firmly seated in their sockets. | Damaged cables are a safety hazard and a common source of intermittent faults. Loose plugs from machine vibration can cause random alarms. |
| Cabinet Cooling Fans6 | Make sure the fans on the main electrical cabinet are spinning freely and that the filters are not clogged with dust. | Electrical components generate a lot of heat. If the cabinet overheats, components can fail prematurely, leading to expensive and hard-to-diagnose issues. |
| Lights and Sounds | When you power up, check that all indicator lights are working. Listen for any unusual buzzing, chattering, or humming sounds from motors or pumps. | Changes in sound can be the very first indication that a motor or electrical component is about to fail. Catching it early prevents a bigger problem. |
How to Manage Cutting Tools in a Profile Machining Center?
Your part quality is suddenly dropping, with bad surface finishes and inaccurate dimensions. This inconsistency is often caused by using dull or damaged cutting tools, which can also damage the workpiece or even the machine’s spindle.
Proper tool management requires a daily check for tool wear, immediately replacing any worn tools. Tools must be cleaned after use and stored in a clean, dry place to prevent rust, and operators must be trained to load and unload them correctly.
Your cutting tools are where the rubber meets the road. Even the most accurate machine in the world will produce scrap parts if you use a worn-out tool. Establishing a clear system is crucial. This means having a designated storage area to keep them protected. It also means training every operator on the correct procedure for loading and unloading tools from the spindle to avoid damaging either the tool holder or the spindle taper itself. A little care here goes a long way.
Key Aspects of Tool Management
| Aspect | What to Do | Why It’s Critical |
|---|---|---|
| Daily Inspection7 | Before starting a new job, visually inspect the tools that will be used. Look for chipped edges, excessive rounding, or other signs of damage. | A worn tool not only produces bad parts but also puts a much higher load on the spindle, which can lead to premature spindle wear and failure. |
| Cleaning & Storage8 | After use, wipe tools and holders clean and apply a light oil to prevent rust. Store them in a designated, organized tool cart or rack. | A dirty tool holder taper can cause runout, leading to poor accuracy and surface finish. Rust can damage both the tool and the spindle. |
| Correct Handling | Always wipe both the tool holder taper and the spindle taper with a clean cloth before loading a tool. Ensure the tool is seated correctly. | Any small chip or piece of debris left in this connection will cause the tool to run out of true, leading to poor accuracy, vibration, and bad parts. |
Conclusion
Daily maintenance for a profile machining center is simple but not optional. Following a consistent routine of cleaning, lubricating, inspecting, and managing your tools is the most important thing you can do to ensure long-term reliability and protect your investment.
-
Discover how a clean machine enhances performance and longevity, ensuring your equipment runs smoothly and efficiently. ↩
-
Learn about the leading causes of equipment failures to better protect your investments and minimize downtime. ↩
-
Understanding the function of a central lubrication tank can help ensure proper maintenance and longevity of your machinery. ↩
-
Learning how to effectively check lubrication points can prevent costly repairs and extend the life of your equipment. ↩
-
This resource provides crucial safety inspection techniques to avoid hazards and ensure reliable electrical performance. ↩
-
Explore this link to learn essential maintenance tips that can prevent overheating and extend the life of your electrical components. ↩
-
Understanding daily inspection practices can significantly enhance tool longevity and performance, ensuring high-quality production. ↩
-
Proper cleaning and storage techniques are essential to prevent rust and damage, ultimately improving tool efficiency and lifespan. ↩

Chris Lu
Leveraging over a decade of hands-on experience in the machine tool industry, particularly with CNC machines, I'm here to help. Whether you have questions sparked by this post, need guidance on selecting the right equipment (CNC or conventional), are exploring custom machine solutions, or are ready to discuss a purchase, don't hesitate to CONTACT Me. Let's find the perfect machine tool for your needs.